
Paint tips for a professional finish
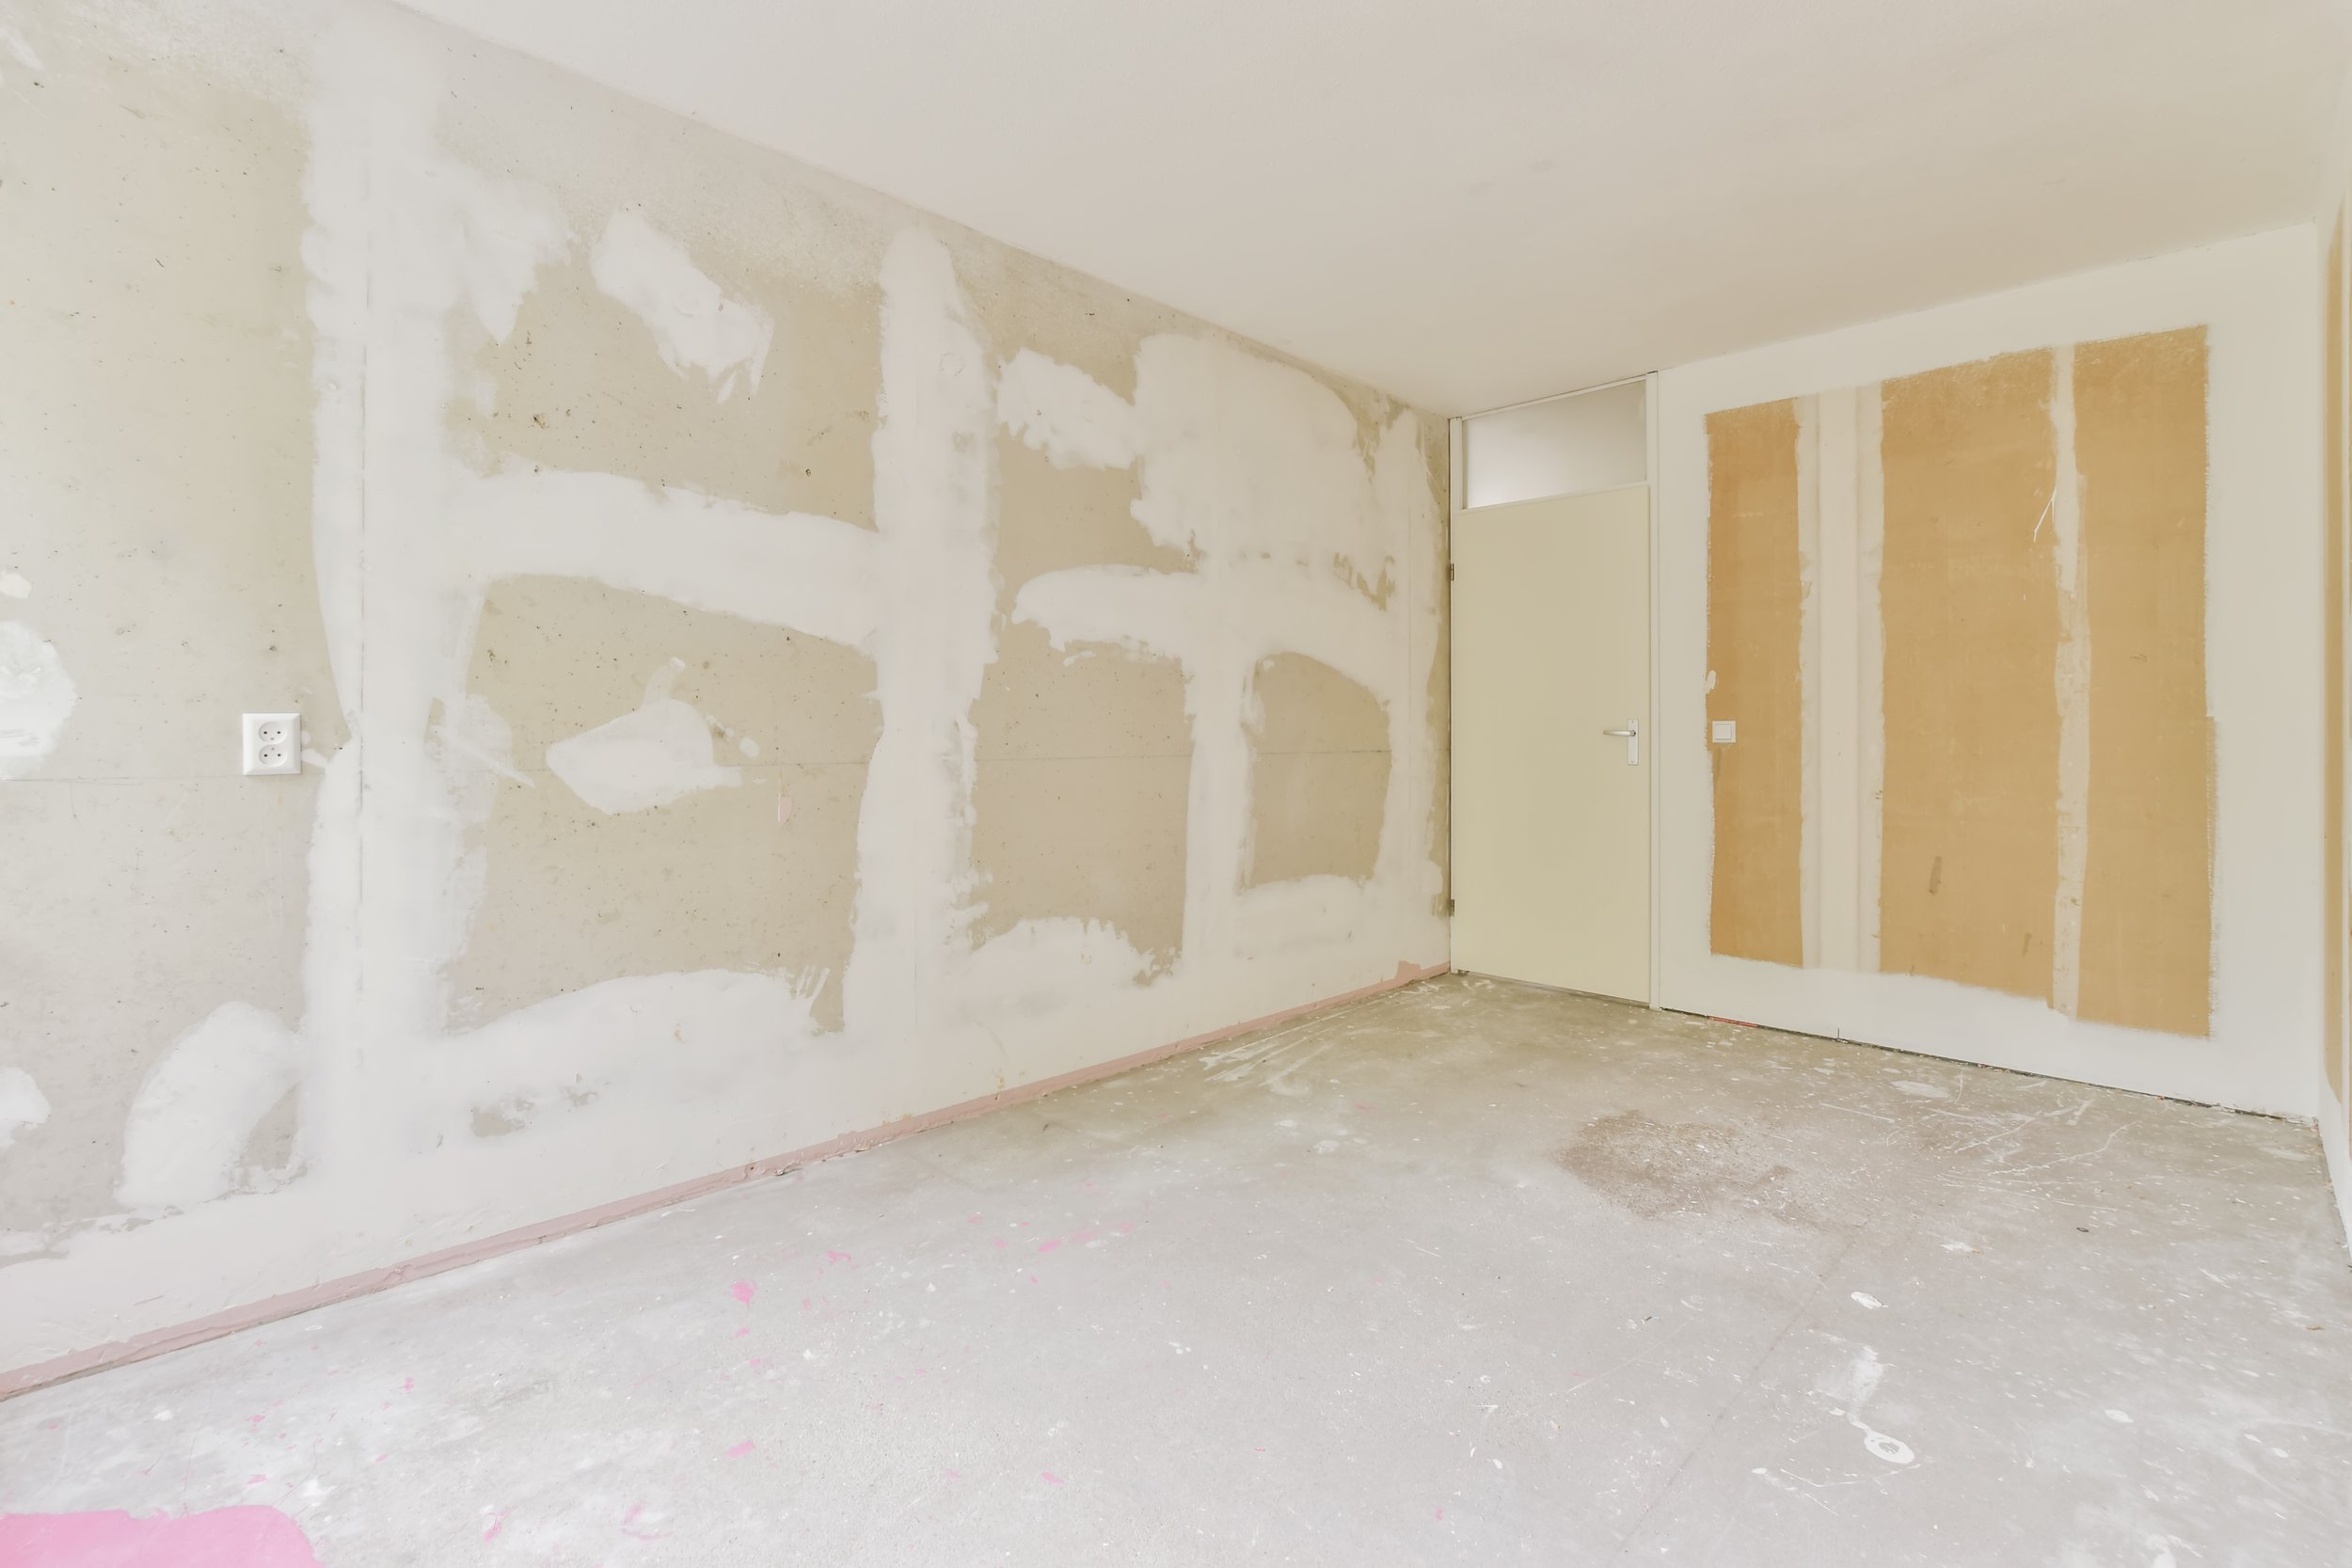
Whether you’re preparing your home for sale or simply refreshing a tired space, a quality paint job can make a remarkable difference. Fresh paint is one of the most cost-effective ways to elevate a property’s appearance, helping rooms feel cleaner, brighter and more modern. From a real estate perspective, buyers often notice the finish before they notice the colour — so taking the time to do the job properly can add real appeal.
If you enjoy tackling DIY projects or hiring a professional painter isn’t quite within budget, these practical tips will help you achieve a more polished finish without unnecessary stress.
1. Start with the preparation
The secret to a great paint finish begins before the first coat goes on. Proper preparation is what separates a smooth, polished result from one that looks rushed.
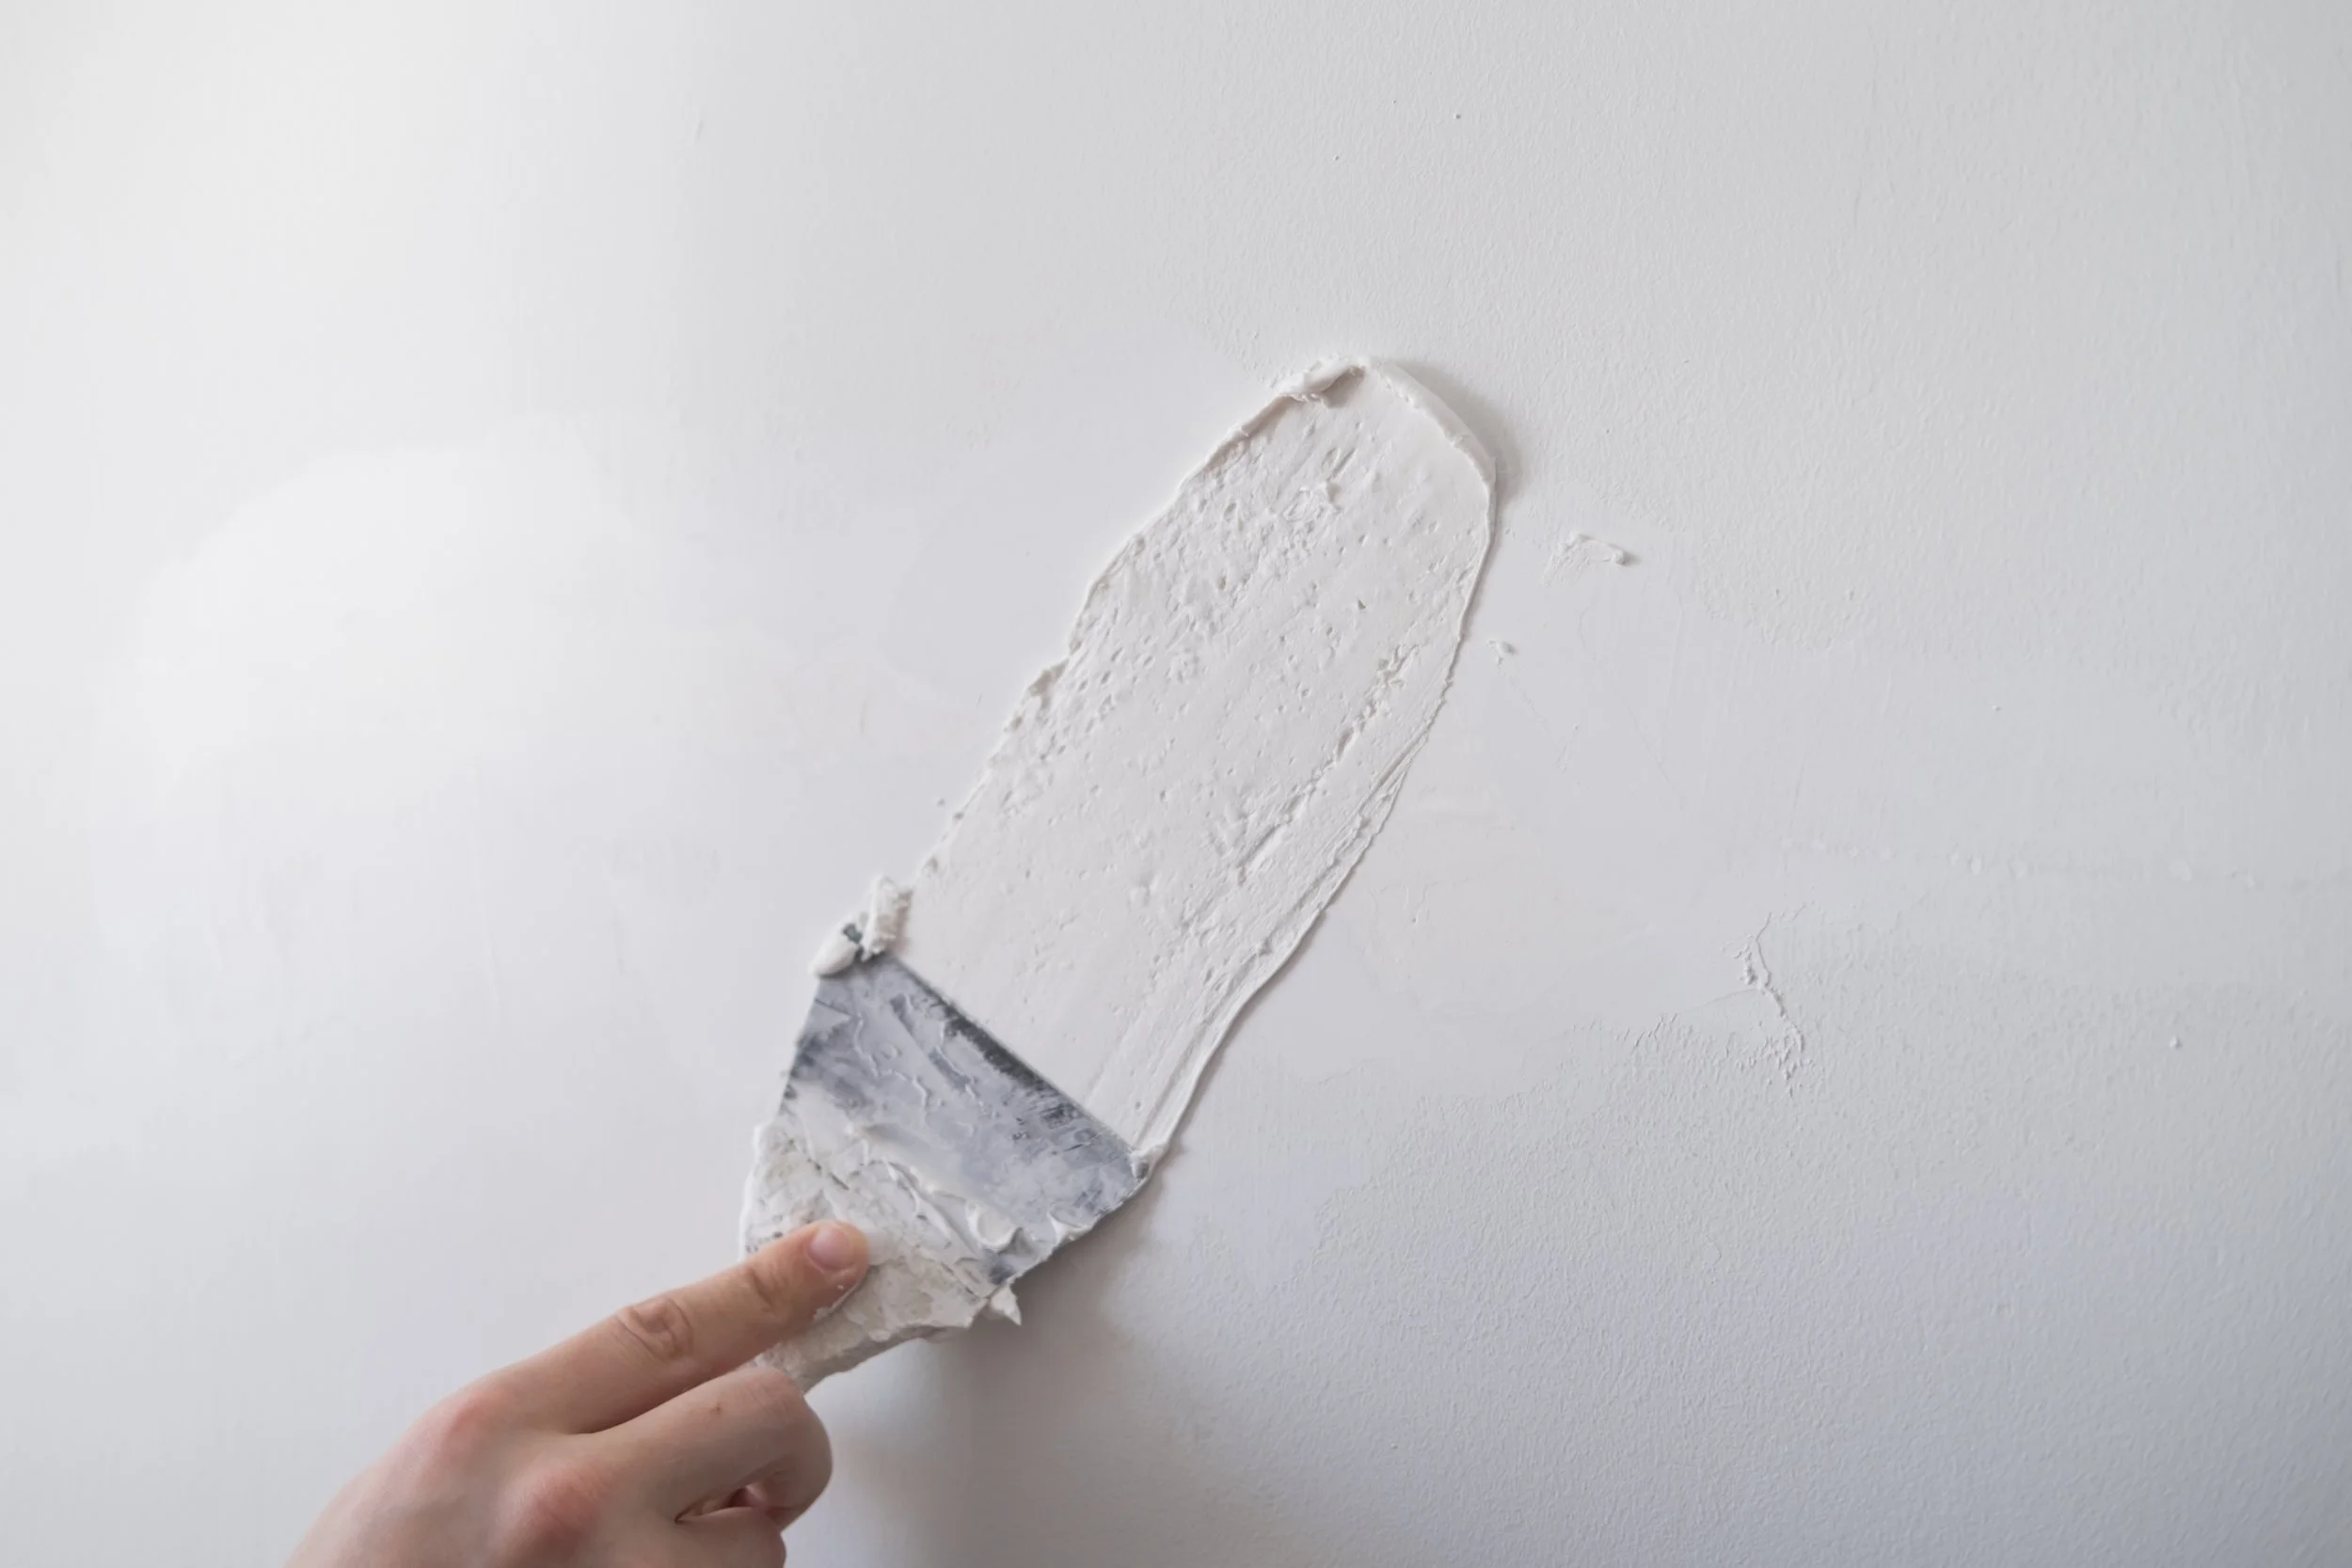
Start by cleaning the walls thoroughly to remove dust, grease and marks. Kitchens and bathrooms especially can hold hidden grime that prevents paint from sticking properly. Fill any dents or nail holes with filler and sand the area smooth once dry. Even small imperfections can stand out when they’re painted.
If you’re painting over darker colours, glossy finishes or stained areas, using a primer can make a huge difference. It improves coverage, helps paint bond properly and often reduces the number of coats required.
2. Use quality equipment
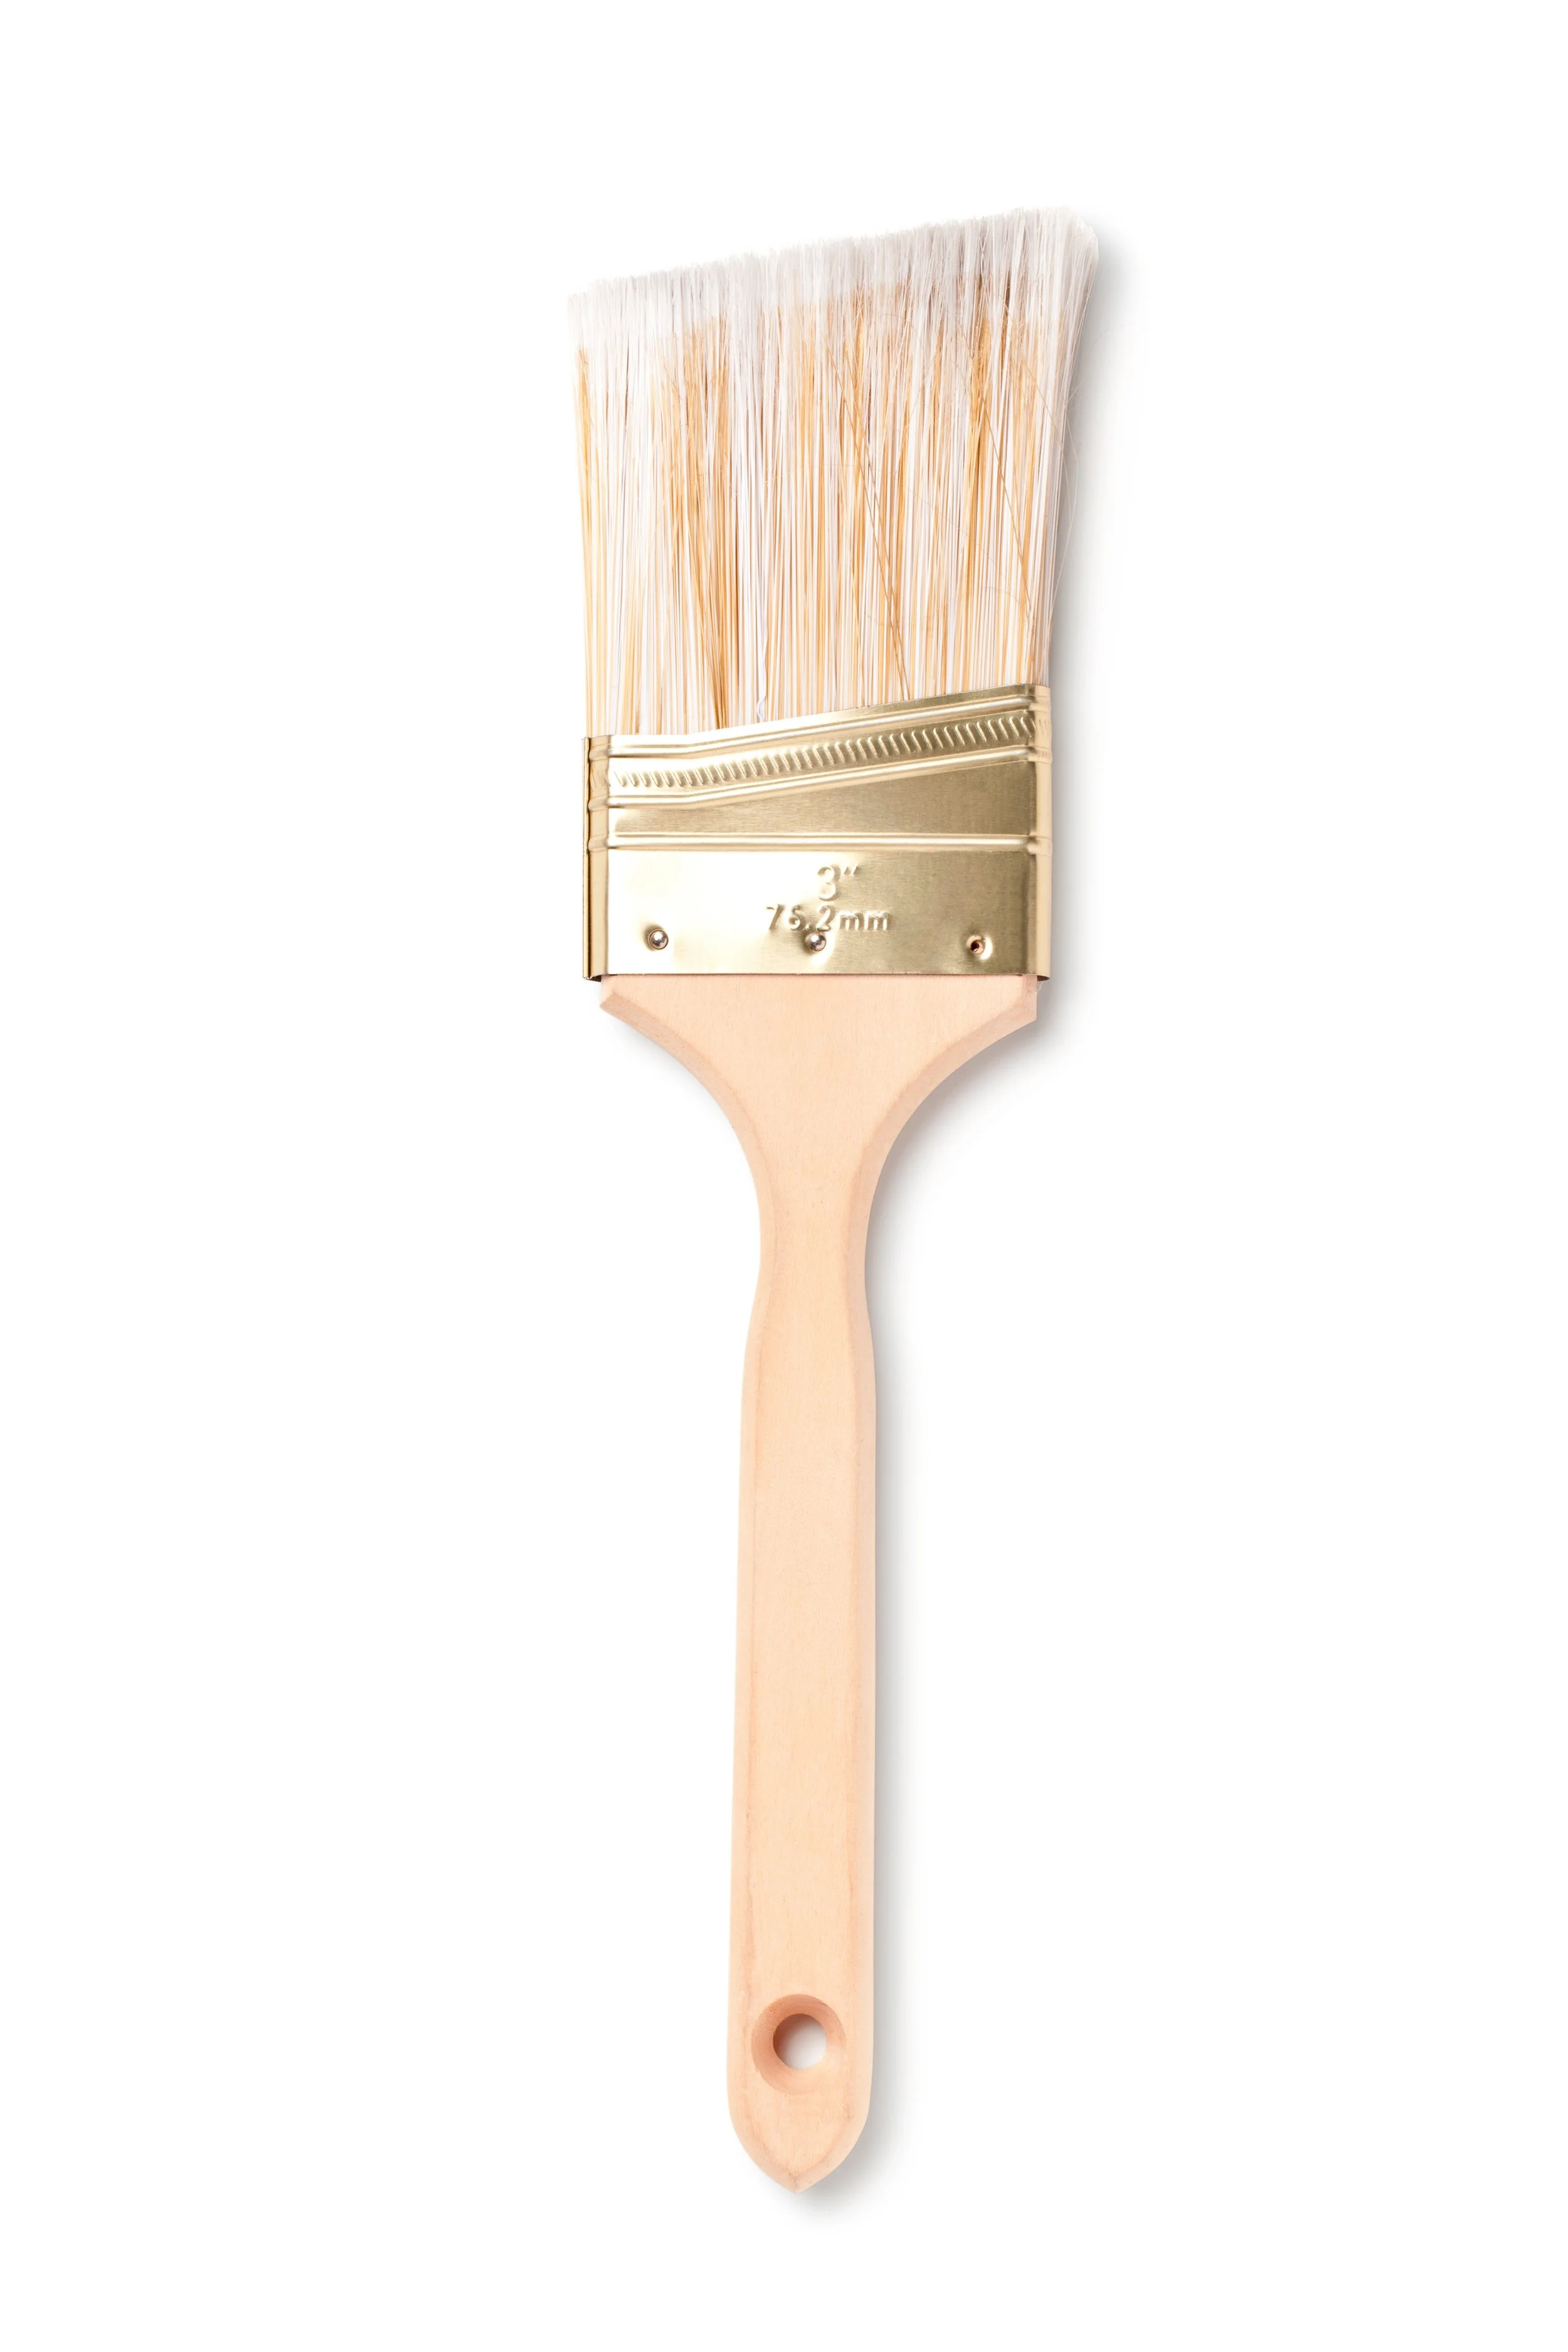
Good tools genuinely matter. While budget brushes and rollers can be tempting, they can leave streaks, lint or uneven texture behind.
Investing in decent-quality brushes and rollers will give a smoother finish and make the job easier overall. Angled brushes are ideal for cutting in around trims and ceilings, while extension poles help create even pressure on walls and ceilings without overreaching.
Painter’s tape is another worthwhile investment. Applying tape carefully around trims, skirting boards, switches and edges creates cleaner lines and saves time fixing mistakes later.
A great professional trick when taping skirting boards or trims is to first run a thin line of the existing trim colour along the edge of the tape before applying your wall colour, then remove the tape before the wall is fully dry. This seals the tape edge and prevents the new wall paint from bleeding underneath, helping create a crisp, sharp finish.

3. Choose the right paint finish
The finish you choose can affect both the look and practicality of the room.
Low-sheen and matte finishes are popular for living areas and bedrooms because they soften imperfections and create a modern appearance. Kitchens, bathrooms and high-traffic areas often benefit from washable low-sheen or semi-gloss finishes that are easier to clean.
From a resale perspective, neutral and timeless colours remain the safest option. Check out our blog on this year’s colour trends here.
4. Perfect your rolling technique
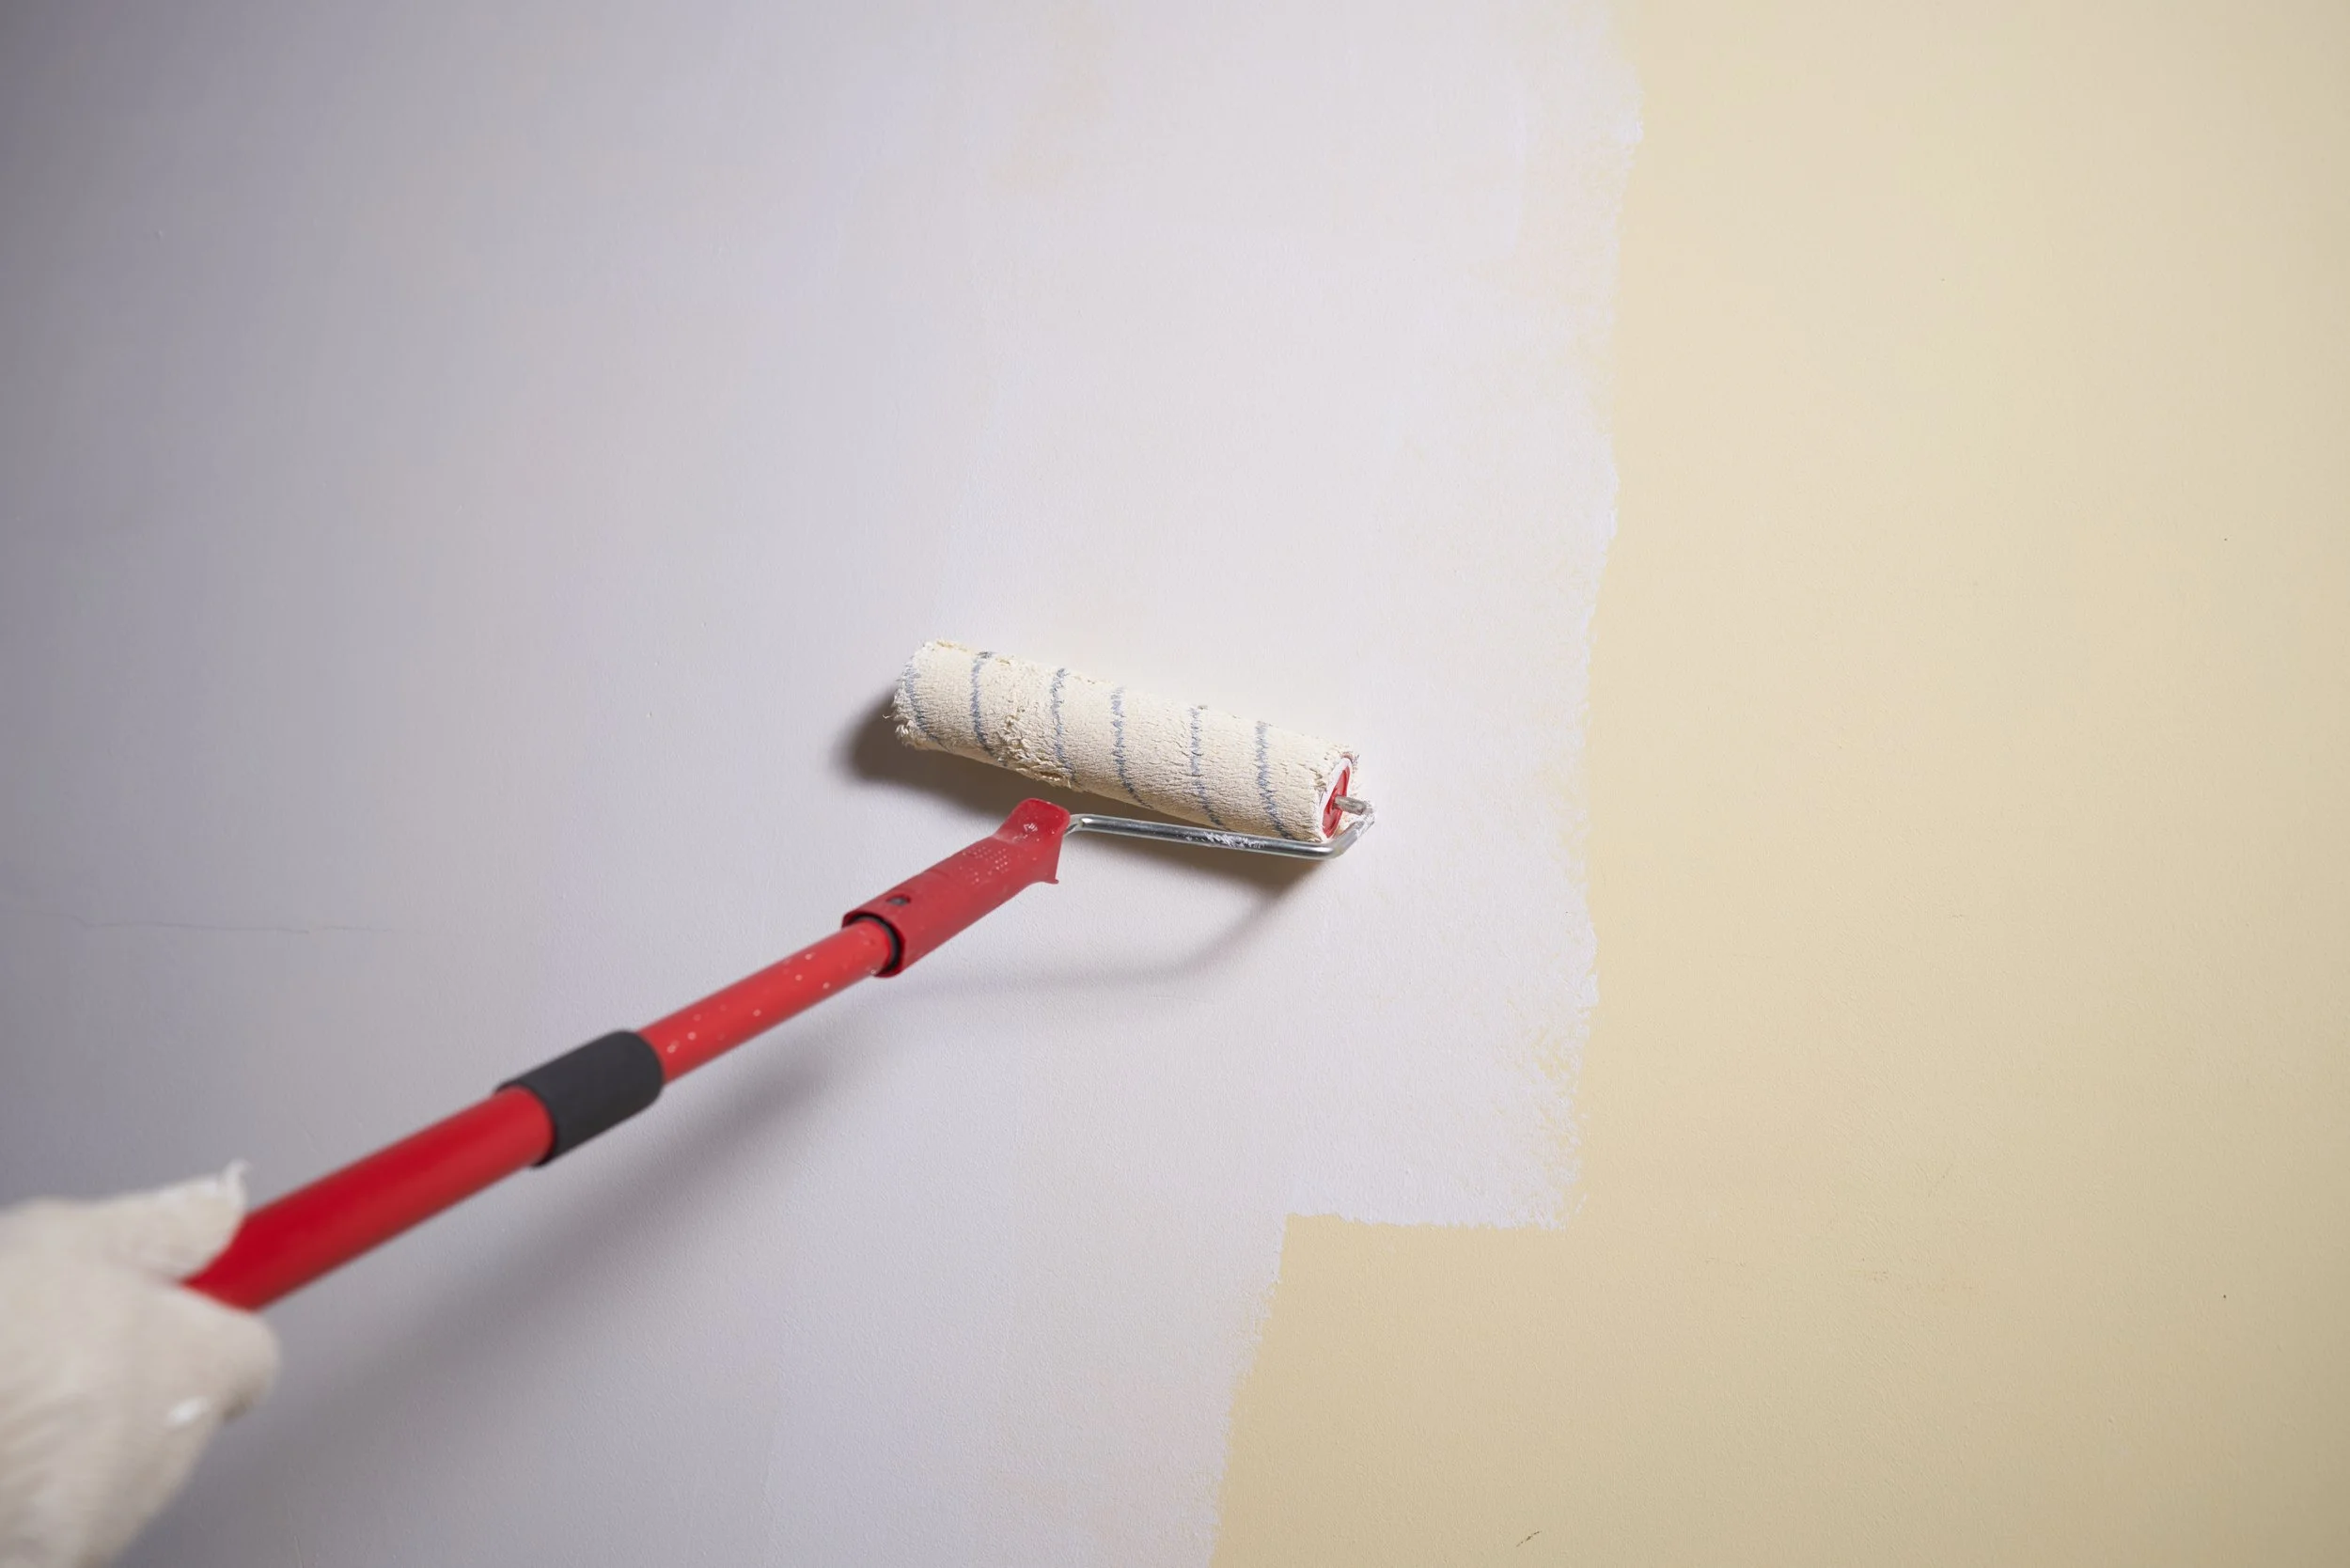
A smooth, even roller finish can completely change the final result. One simple but highly effective tip is, once you’ve finished each section of wall, to move from one side to the other while lightly rolling downward from ceiling to floor . This final downward pass helps even out the paint sheen, smooth roller texture and catch any small drips or heavy spots before they dry.
Keeping a “wet edge” while painting is also important. Work in manageable sections and try to avoid letting one area fully dry before blending into the next, as this can create visible lap marks.
Try not to overload the roller with paint. Too much paint can lead to drips, splatter and uneven texture, while too little paint creates patchiness.
5. Don’t rush between coats
One of the biggest mistakes us DIY painters make is rushing drying times. Applying a second coat too early can cause streaking, peeling or patchy texture.
Follow the drying recommendations on the paint tin, even if the surface feels dry to the touch. Good ventilation also helps paint cure properly and reduces lingering odours.
Two thin coats will almost always give a better finish than one thick coat. Thick application may seem faster, but it can create drips and uneven texture.
6. Work with natural light
Lighting can dramatically affect how paint colours and finishes appear. If possible, paint during the daytime and regularly step back to check your work in natural light. Roller lines, missed spots and uneven coverage are much easier to spot before the paint dries completely.
It’s also worth testing paint samples on multiple walls before committing to a full room. Colours can appear very different depending on sunlight direction and room size.
7. Pay attention to the finishing details
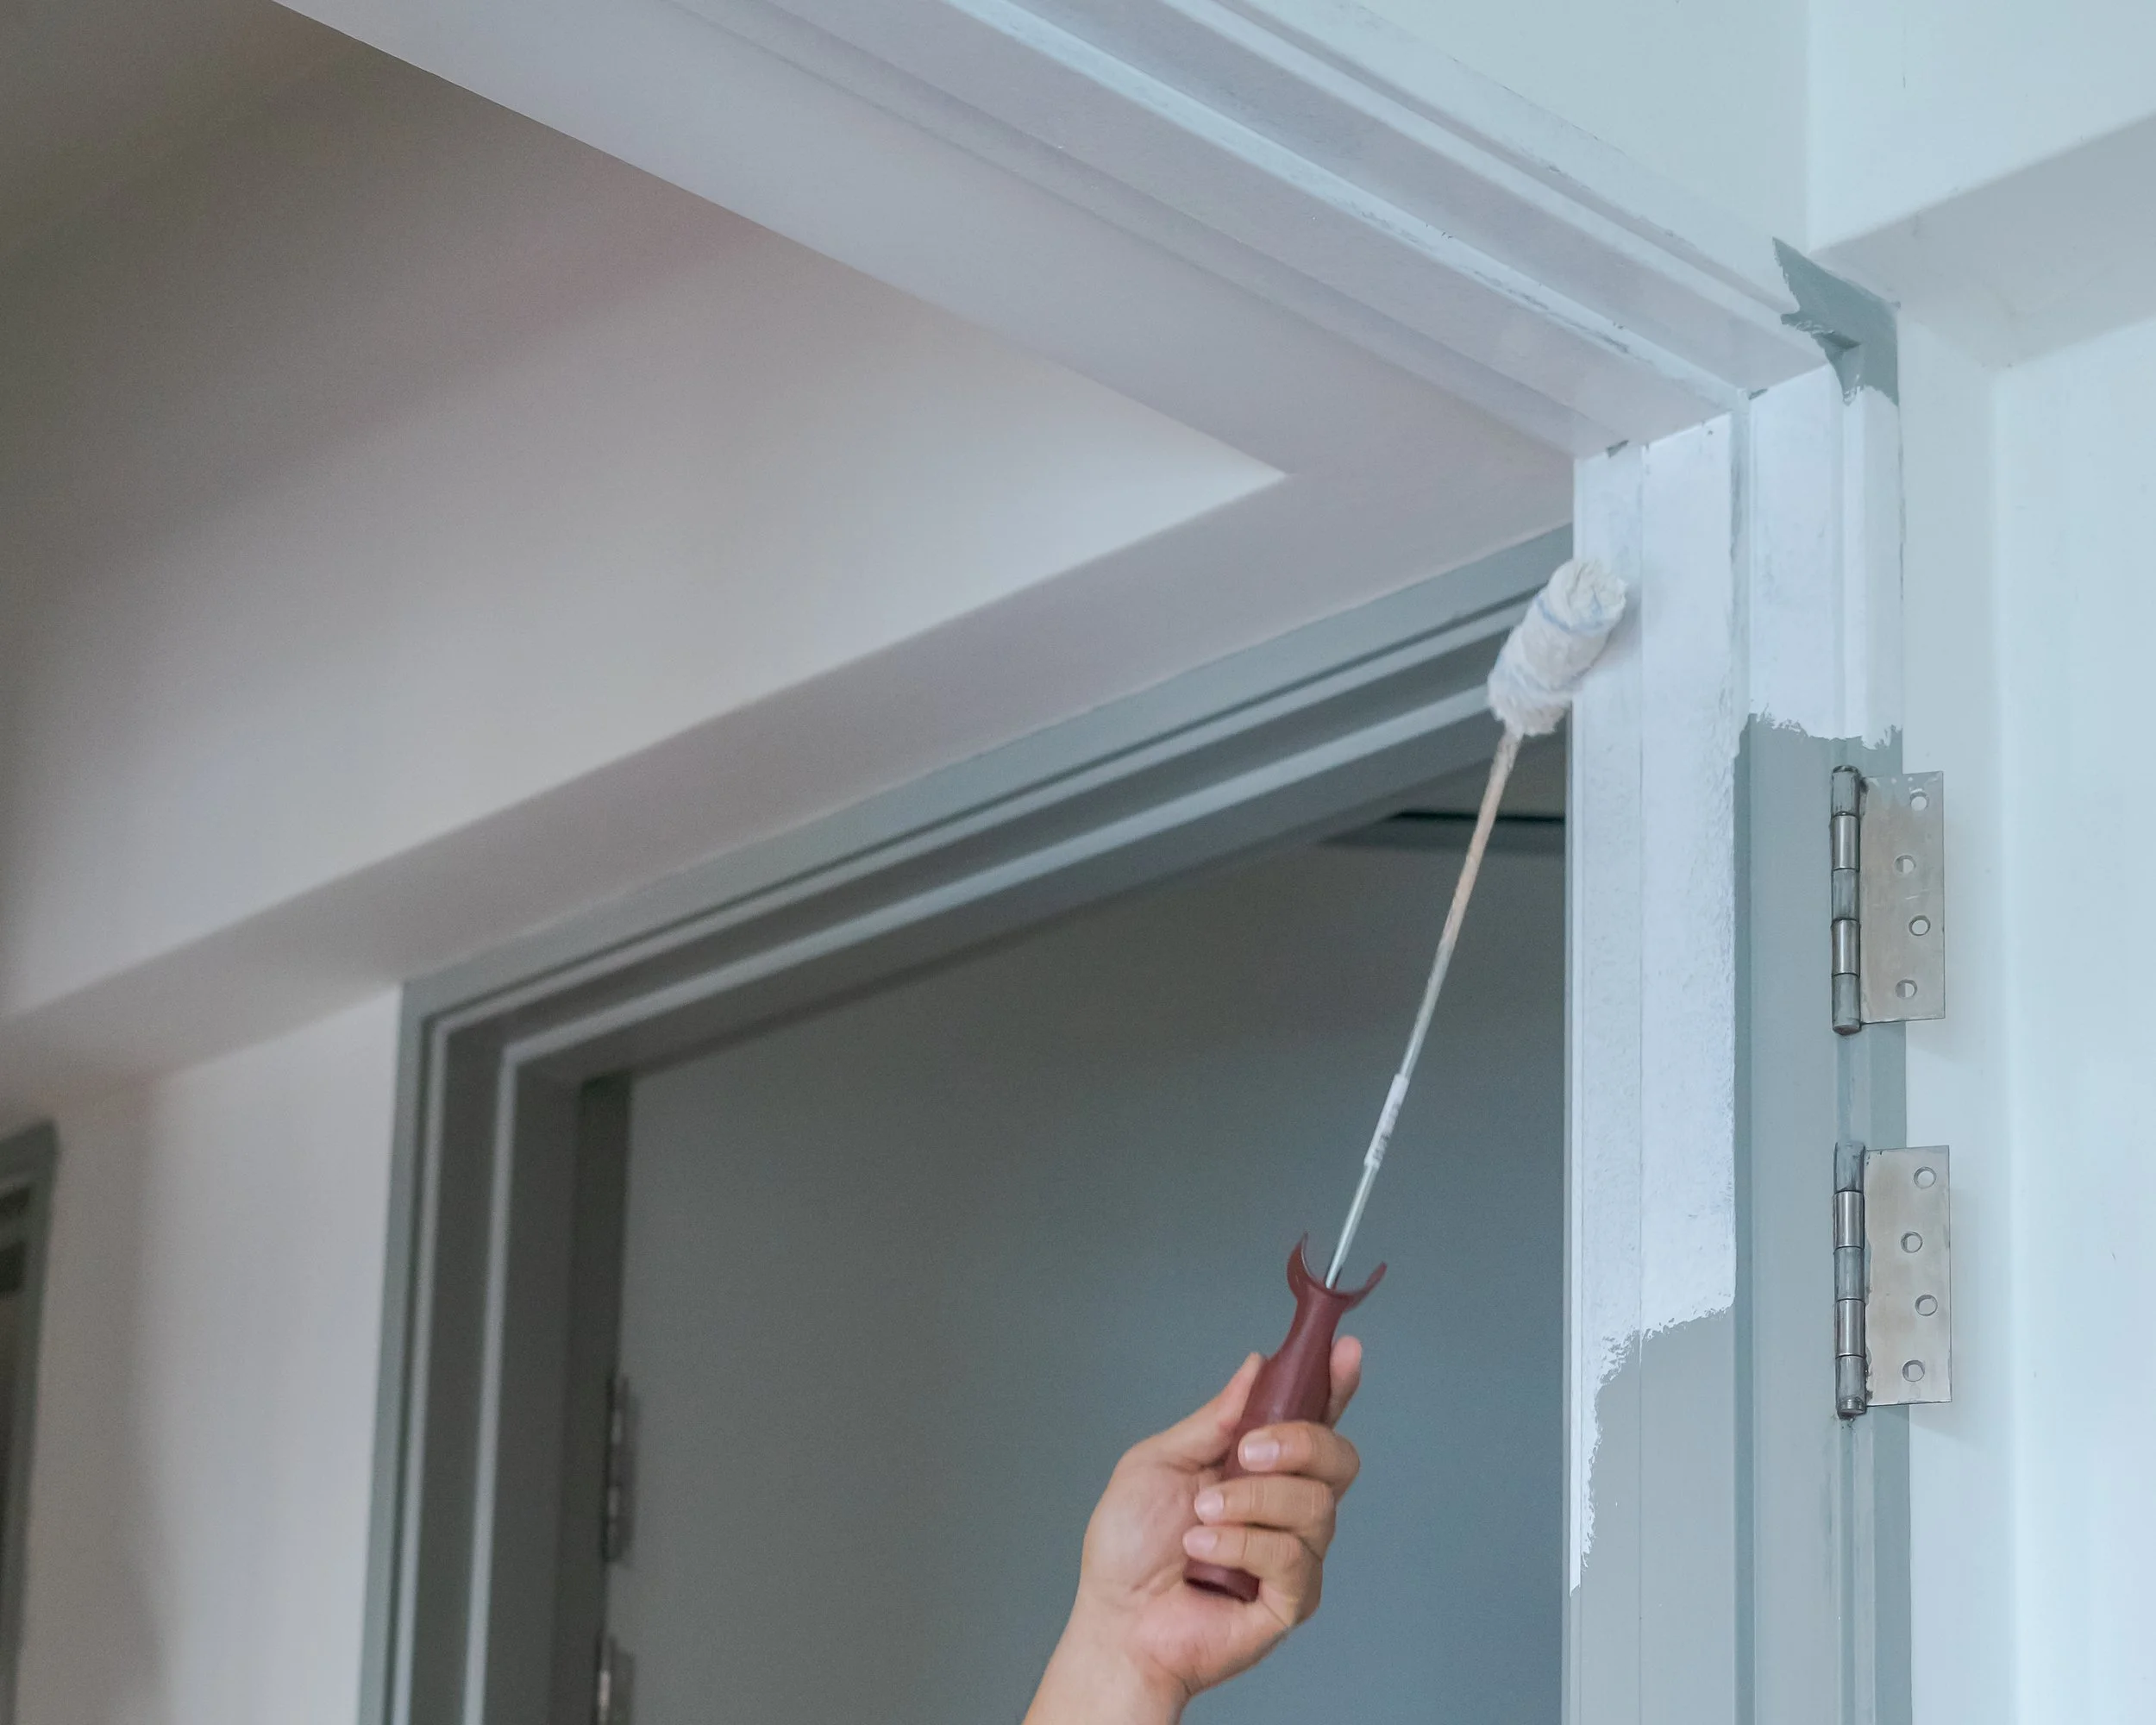
Once the walls are complete, finishing touches can elevate the overall result. Freshly painted trims, doors and ceilings create a cleaner, more cohesive appearance.
Removing painter’s tape carefully before the paint fully cures helps avoid peeling edges. A small artist’s brush can also be useful for touching up corners and minor imperfections.
And finally — don’t underestimate the value of a tidy workspace. Keeping brushes clean, covering floors properly and storing paint correctly all contribute to a smoother project.
A fresh finish adds real appeal
In real estate, presentation matters. A well-painted home feels cared for, fresh and move-in ready — qualities that buyers naturally respond to. Even if you’re not planning to sell, quality painting can enhance how you enjoy your home while protecting surfaces from wear and tear.
With the right preparation, tools and patience, achieving a beautiful finish is absolutely possible — and often far more rewarding than people expect.